How to Set Up and Use Google Photos Locked Folder on iPhone
Google Photos is a very popular photo management application, allowing users to easily save, organize and share their memories. One of the handy features of Google Photos is “Locked Folder,” which provides an extra layer of security for your most sensitive photos and videos. Here's how to set up and use this feature on an iPhone.
Configuring Locked Folder
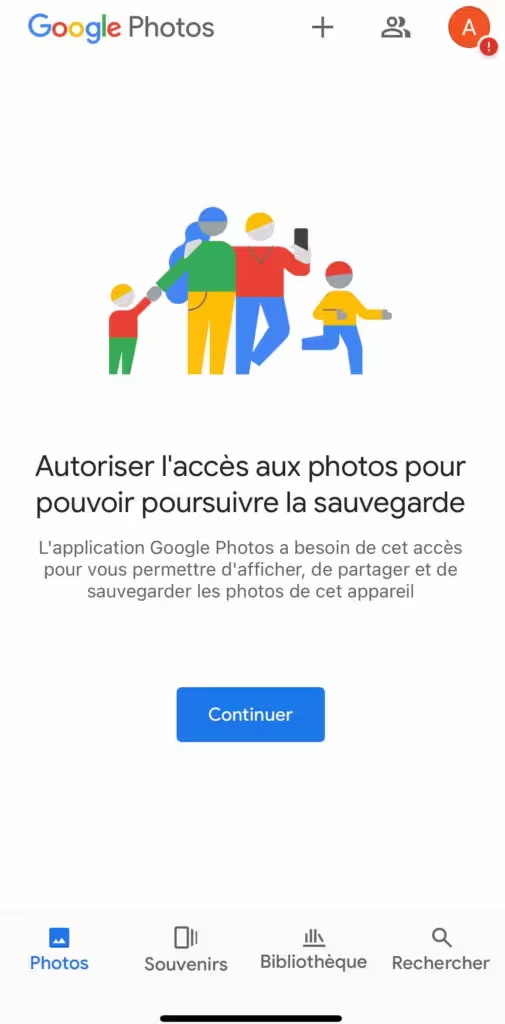
- Installing the Application: Make sure you have installed the latest version of Google Photos from the App Store. If you don't have it yet, download and install the app.
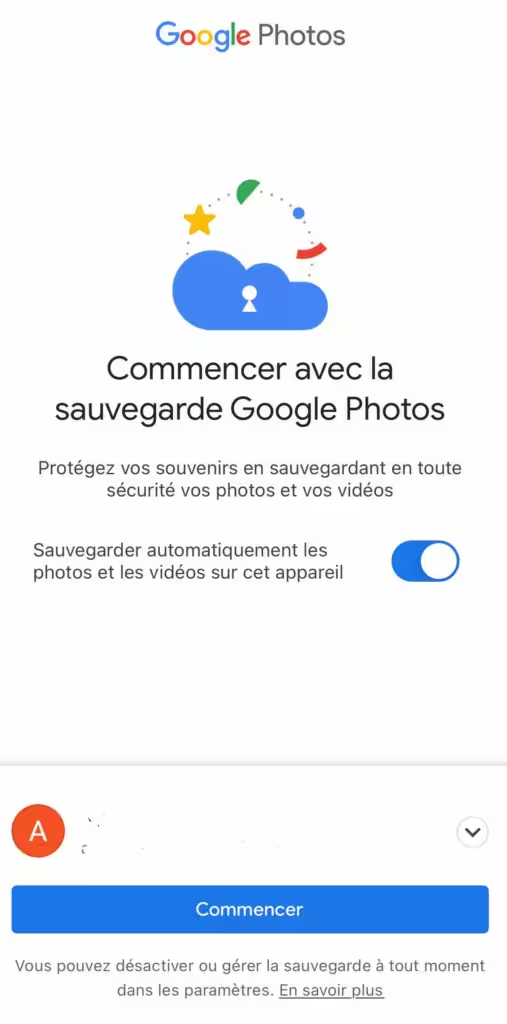
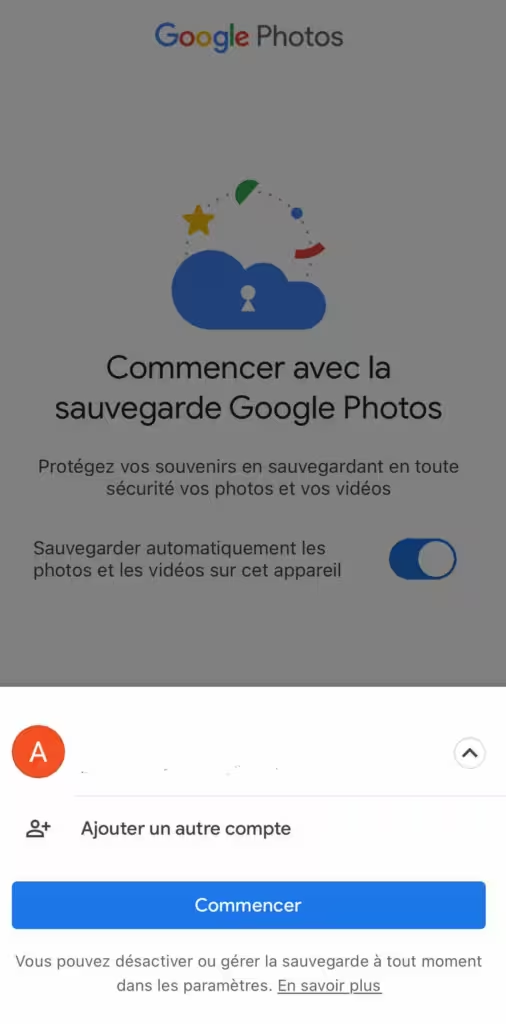
- Access to Google Photos: Open the app and sign in with your Google account.
- Enabling Locked Folder:
- Tap your profile picture at the top right to access the app settings.
- Go to “Photo Settings”.
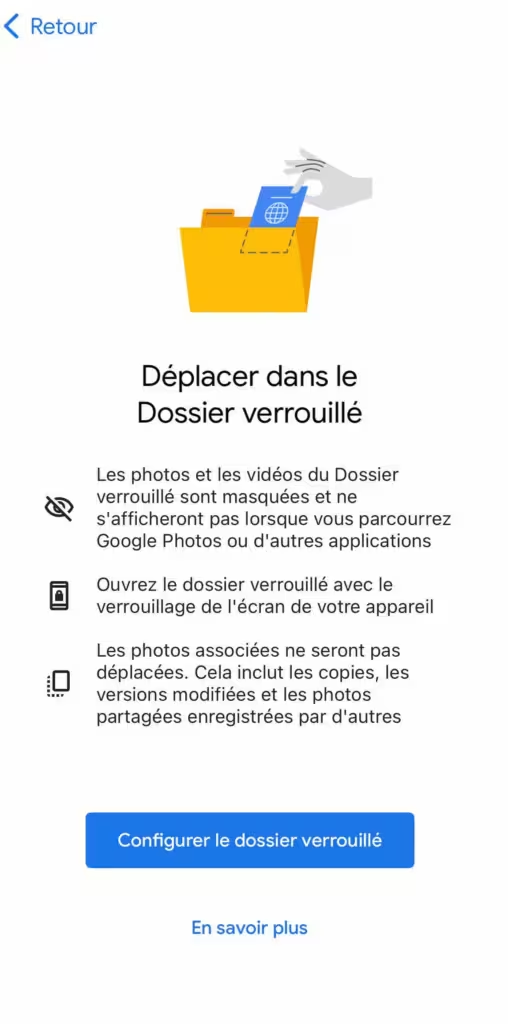
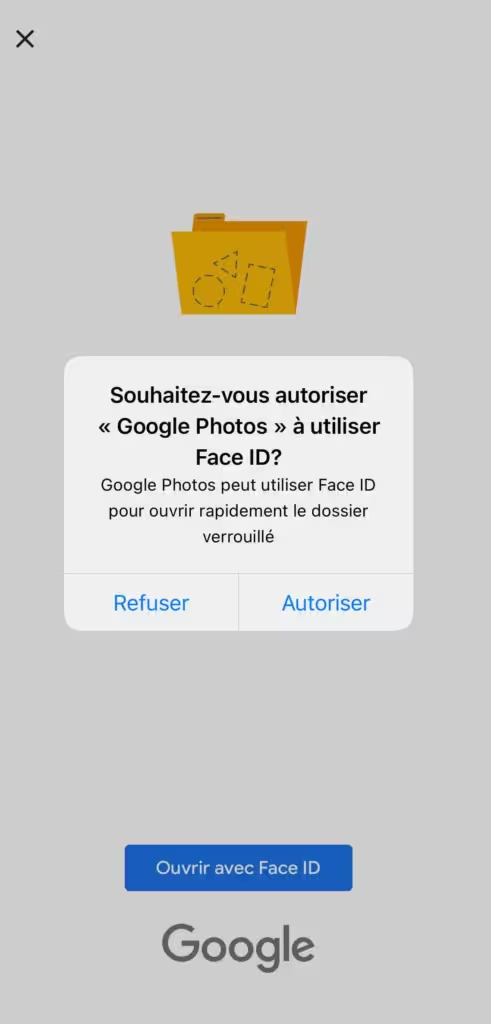
- Select “Locked Folder” and follow the instructions to set up locking with Face ID, Touch ID, or passcode.








To read: How to install the iOS 18 developer beta
- Transferring Photos/Videos to Locked Folder:
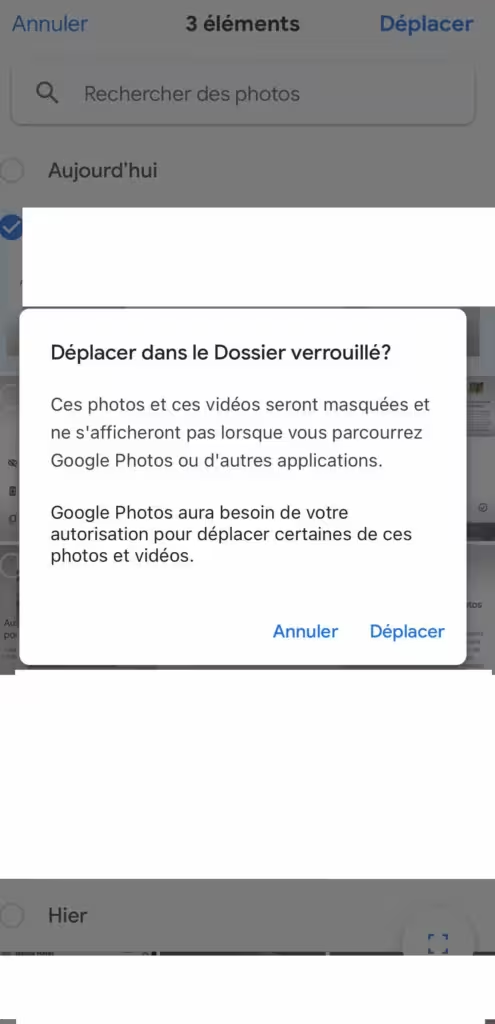
- Select the photos and videos you want to move.
- Tap the menu icon (three vertical dots) at the top right.
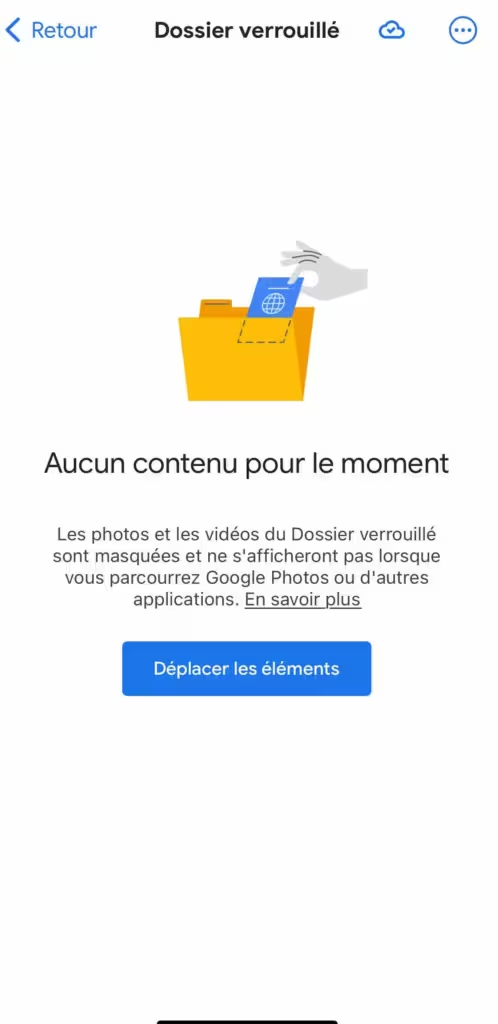
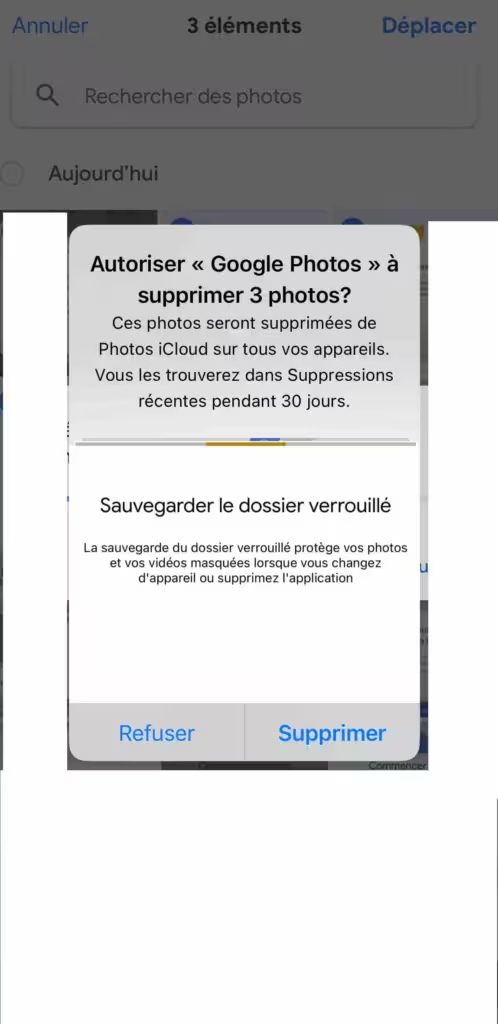
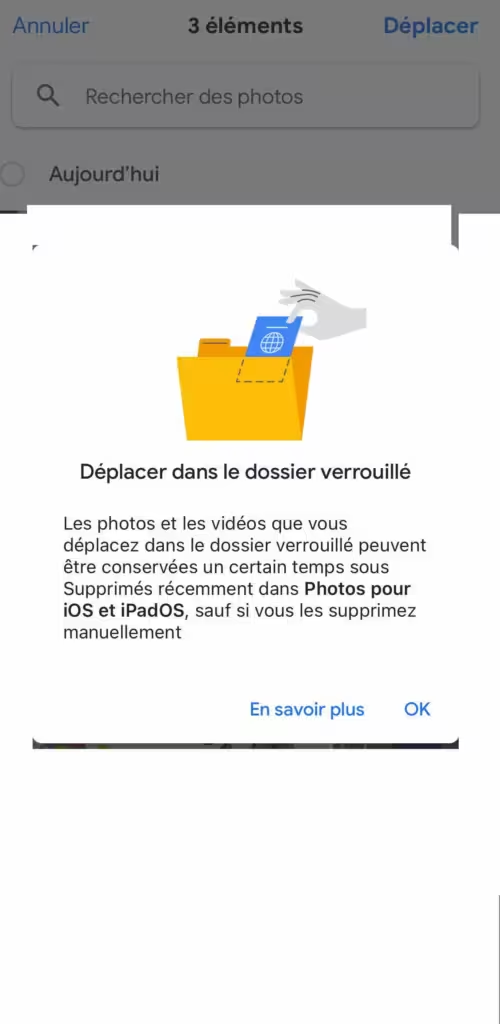
- Choose “Move to Locked Folder”. Note that items moved to this folder will no longer be visible in your main library or shared albums.






Using the Locked Folder
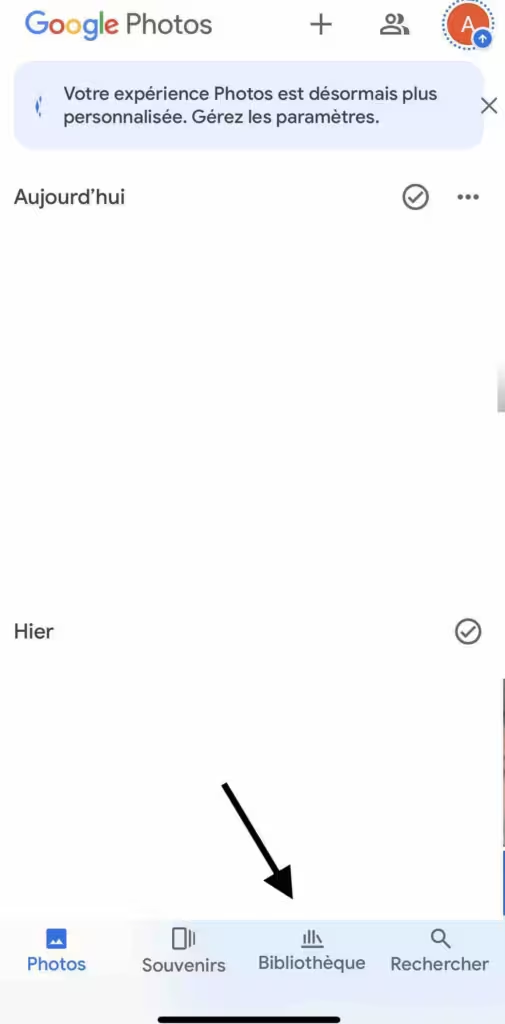
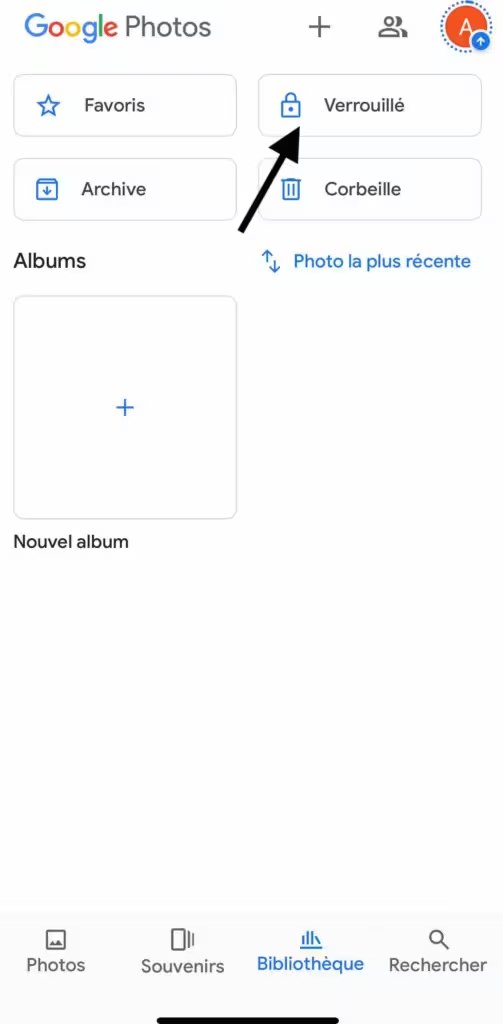
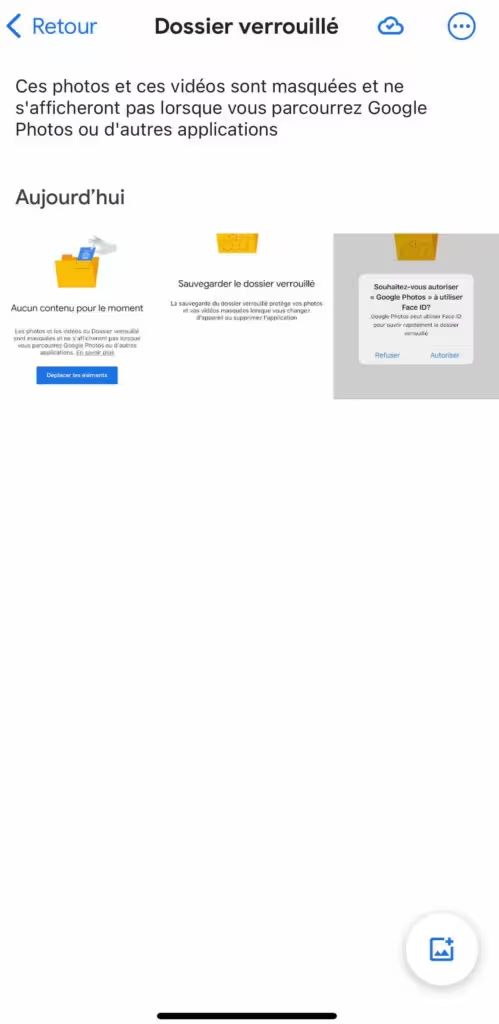
- Access Locked Folder: To access your locked photos and videos, open Google Photos and go to “Library”, then “Utilities” and select “Locked Folder”. You will need to authenticate using Face ID, Touch ID, or your passcode.
- Add New Photos/Videos: You can add items to the Locked Folder directly from your iPhone camera. Open the Google Photos camera, take a photo or video, then select “Save to Locked Folder.”
- Manage Locked Folder Items: You can still move items out of the Locked Folder by following the same selection process, but this time choosing “Move out of Locked Folder”.
Points to note
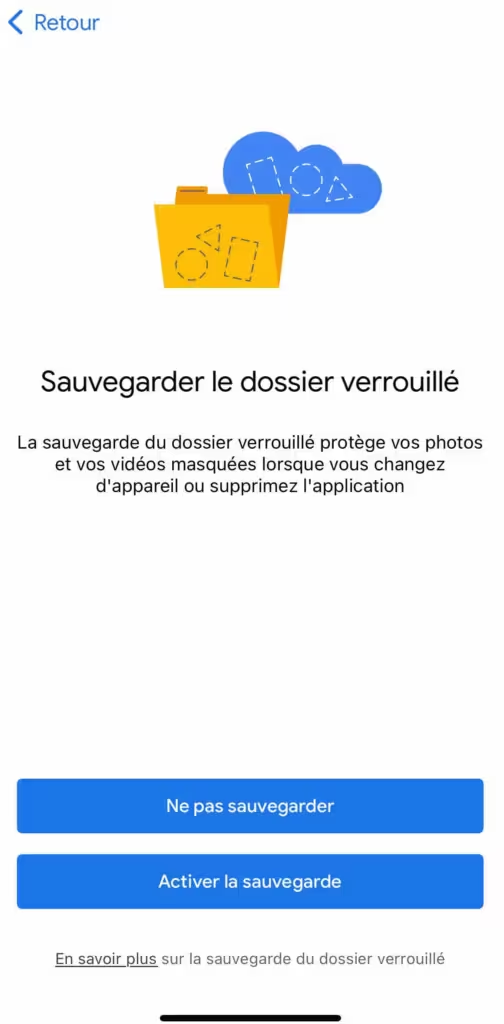
- Backup and Synchronization: Items in the Locked Folder are not saved to the cloud and are not synced between devices. This means that if you uninstall Google Photos or change your phone, you will lose the items in the Locked Folder unless you move them first.
- Sharing and Visibility: Items in the Locked Folder cannot be shared directly. They will also not be visible in shared albums or memories generated by Google Photos.
The Locked Folder feature is especially useful for those looking to secure private photos and videos on their iPhone. By following these steps, you can easily configure and use this feature for added peace of mind when it comes to the security of your media files.
